To configure the Previewer, follow these steps:
- Go to the Document Library where you want to add the Previewer.
- On the Library Tools tab, select Library.
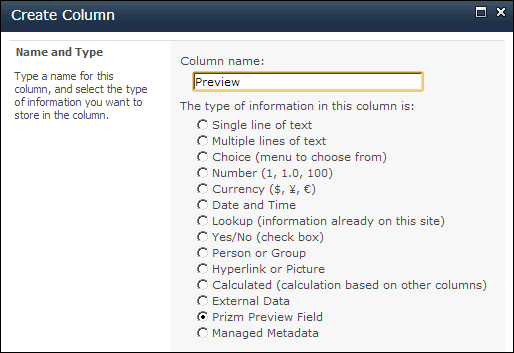
- Select Create Column. The Create Column window displays.
- In the Name and Type section, select Prizm Preview Field. In the Column name field, enter a name for the column you are creating:
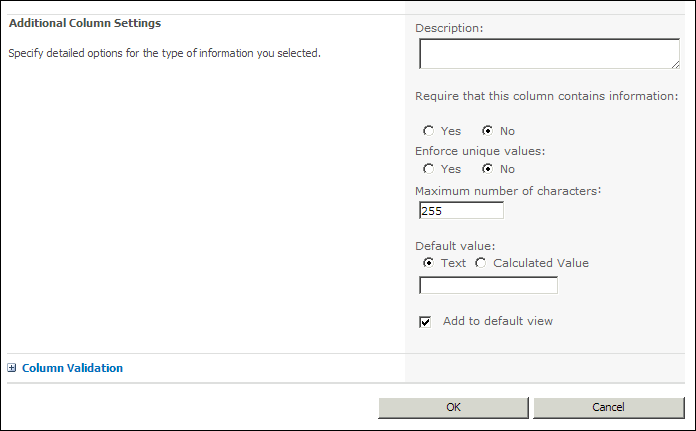
- In the Additional Column Settings section, make sure the Add to default view checkbox is checked and click OK:
 |
The Add to default view checkbox must be checked to automatically see the new column you are creating. |
- The new column you created now displays in the Document Library:

 |
If you want to configure the Previewer for another Document Library, repeat these steps. |